Using Schedule Planner
Tired of sifting through all of those class sections to build a schedule? Let Schedule Planner do the work!
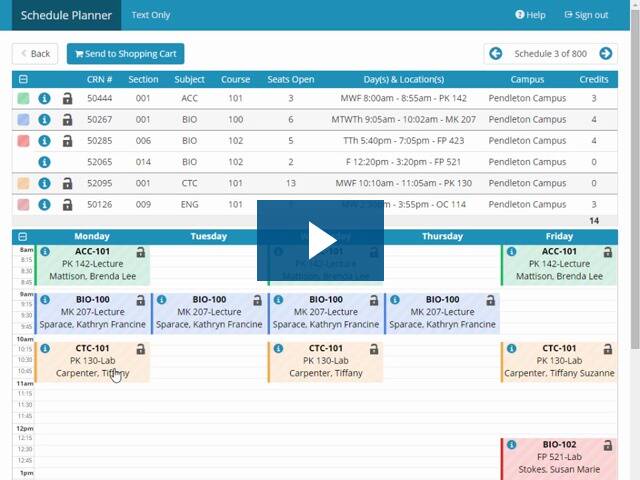
The Schedule Planner is a tool designed to help you efficiently build your class schedule. The tool allows you to pick courses and build in break/busy times for work or other obligations. Then it automatically generates all possible class schedules and can validate your eligibility to enroll in your selected courses and then complete the enrollment process without going back into PAWS.
- Log in to PAWS
- Under the Academics header, click on the Schedule Planner link
- Click the OPEN SCHEDULE PLANNER button (make sure pop-up blocker is disabled). Some features not compatible with Internet Explorer. Another browser is recommended.
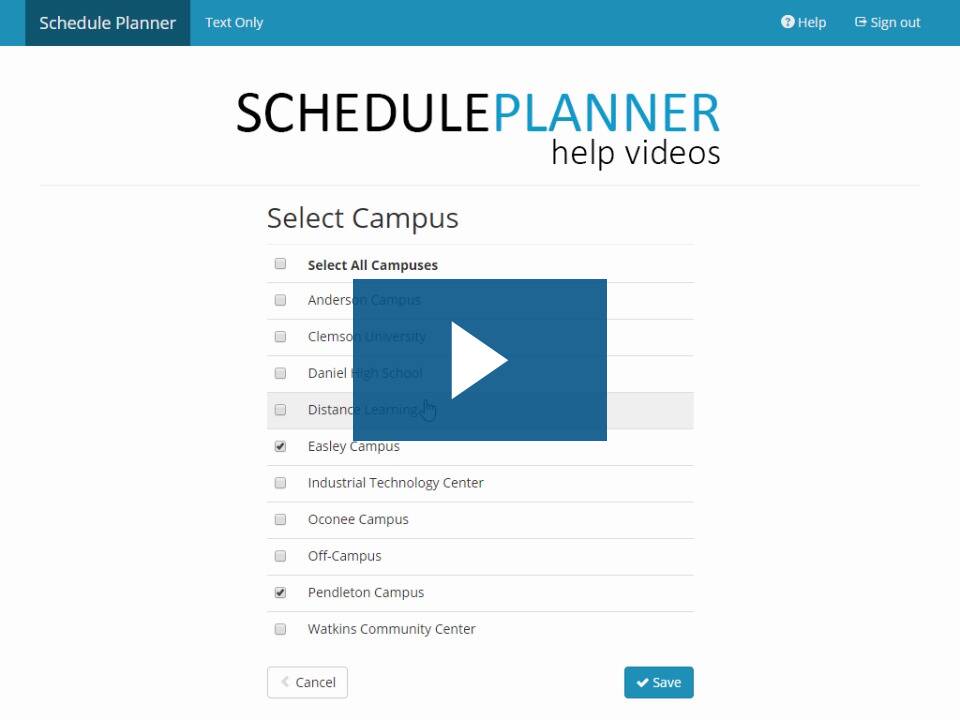
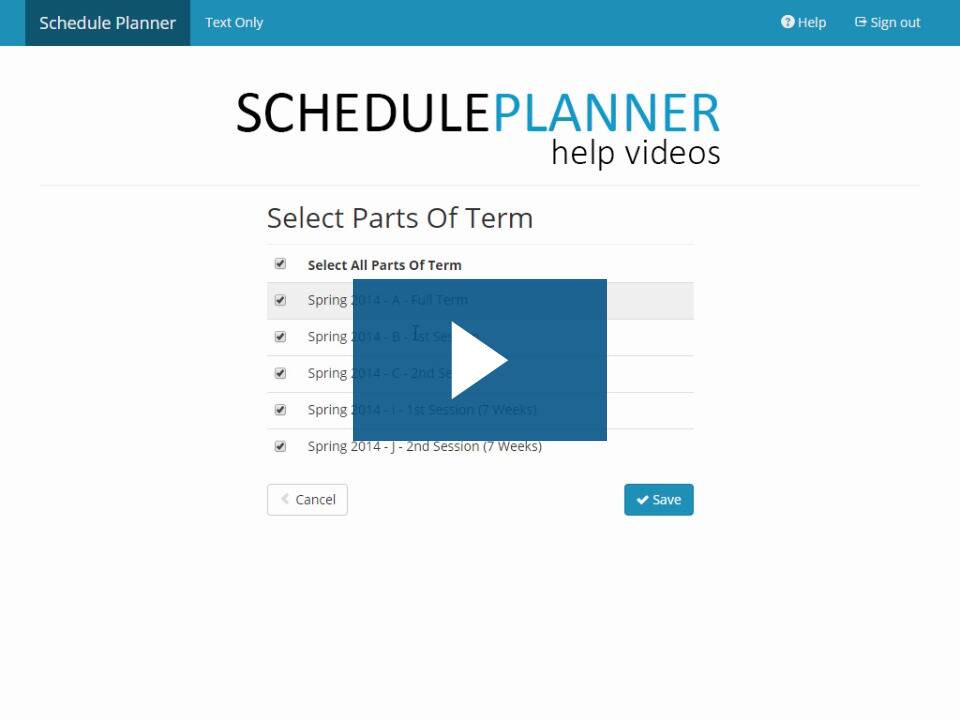
- Use the onscreen options to select your term, filter and identify courses, add in break/busy times, then generate possible schedules
- Before sending courses to your shopping cart, choose your grading basis (most often this is “graded”) and enter any permission numbers if necessary.
- When you identify the schedule you want, click Validate to make sure you’re eligible to enroll in all the courses on that schedule
- Click the Enroll button
Still have questions?
Check out our Schedule Planner FAQ (UWM login required) for more information.
Advisors can also review additional information on the Schedule Planner Advisor View (UWM login required).
Please Note: Review Enrollment Checklist and Enrollment Appointment. Any stated prerequisites (enrollment requirements) also need to be met for the specific sections you select as part of your schedule before enrollment can be completed.


