One of the goals of the Online Courses website is to highlight UWM online summer classes in a visually-appealing way, while at the same time attending to copyright considerations.
What is a visually-engaging image?
Consider locating an engaging image that evokes curiosity when students are browsing the course options on the Courses page. You can think of the image a strategy for attracting the student to the course topic. rather than as communicating information about the course.
It isn’t necessary to include textual information about the course in the image because the information about the course is already present with the surrounding text, and because the thumbnail image used to advertise the course is small and the text in the image becomes a bit illegible at that scale.
Here are two great examples of using images to attract students to the topic.
Image 1

Image 2

In the first example, the image connects to the course title and topic in several ways. The crowd of people facing each other evokes “interpersonal” as the title suggest. However, the seemingly random arrangement of people, and the unusual perspective (from overhead), suggest the challenges associated with the topic and the need for in-depth analysis. Fundamentally, the image is visually engaging. At first, you aren’t exactly sure what you are looking at, and this requires you to look at the image more closely and think about how the image relates to the topic. After spending time with the image, you suddenly recognize that the group is not random, but instead creates the outline of a talk-bubble — a cleverly placed symbol for “communication” in the course title.
In the second image, the selection of a human skeleton is a clear connection to the course topic of anatomy and physiology. This image is very direct without symbolism. However, the image itself is very engaging and visually attractive. The image is in black and white, not color. The skeleton is positioned off-center in the frame. Finally, the skeleton is posed so that the hand is resting on the chin — in a position of curiosity or contemplation. In this way, the skeleton becomes a stand-in for the students themselves as they wrestle with the course topic and expand their understanding within the discipline.
How do I find a copyright-compliant image?
Because we are using this website for promotional purposes, we need to ensure that any images published here are copyright compliant. What are some ways to find these free-to-use images?
Option #1
Use an image that you have taken with your phone or camera. This is the safest way to ensure copyright compliance. For example, you could use an image from a recent trip to a museum or an historical landmark that relates to your class. Feel free to be creative!
Option #2
Use an image from a website that provides free-to-use, hi-resolution images. Here are a few that are CC0 (no copyright reserved):
When searching for images, use the keyword search. Enter keywords from the title of the course or from your course description. Consider searching for words that are similar or somewhat synonymous with these word.
How do I use a keyword search for images?
For a languages course, you may enter “languages” in the keyword search, or select one of the related search words or phrases. After perusing the search result images, you may decide to try entering “word” in the keyword search.
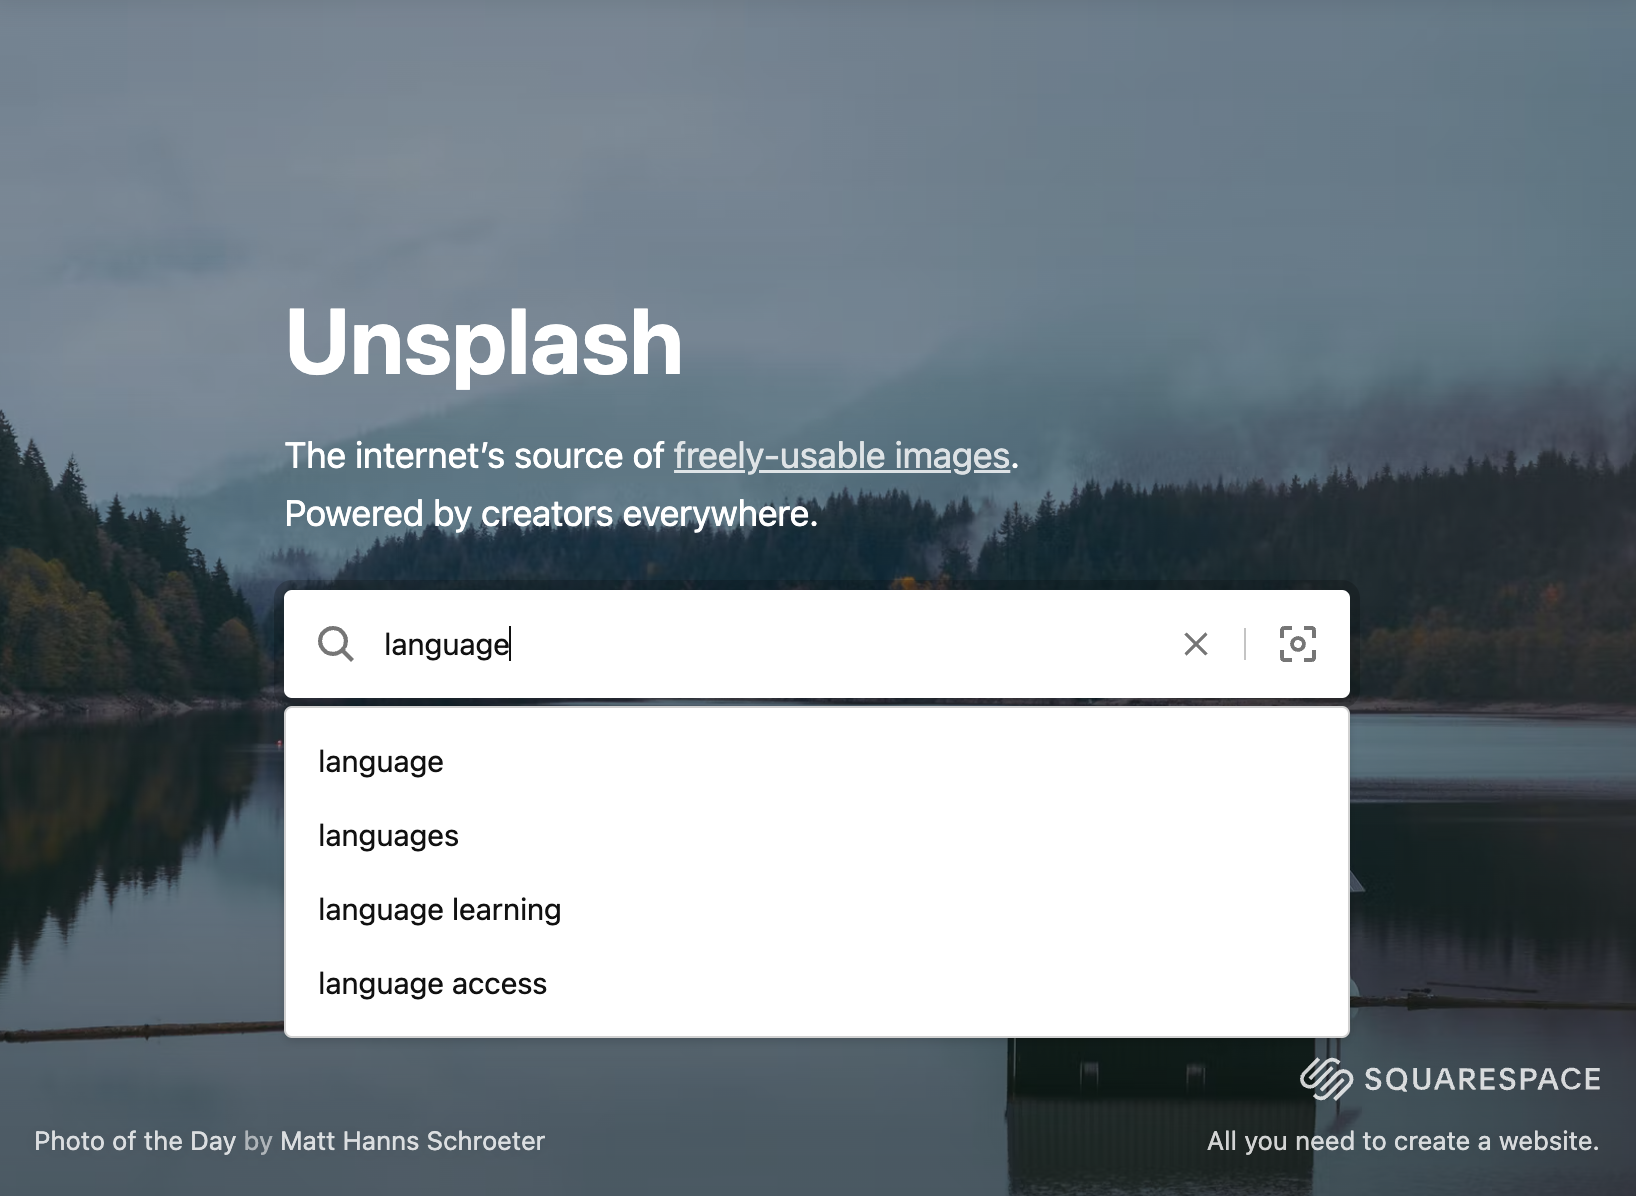
This provides image results that look like this:

The image with the colorful words on a blackboard is visually interesting and communicates the excitement and complexities of learning a language. The image showing a neon “hello” in a talk-bubble is also visually appealing and symbolizes the use of language to communicate and connect across cultures.
Ultimately, which image you choose is a matter of personal preference. As the subject matter expert, you know the content of your course best. Selecting a course image can offer the opportunity for you to visually define how you want your student to think and feel about the course topic. Enjoy the process of exploring interesting images and use your creativity to make meaningful connections.
How do I write Alternative Text (alt text)?
Alternative text is a textual description for images, but also for multimedia and other non-text content.
- Screen readers announce alternative text, helping users with visual or certain cognitive disabilities perceive the meaning and function of the image.
- If an image fails to load or the user has blocked images, the browser will display the alternative text visually in place of the image.
- Search engines use alternative text and factor it into their assessment of the page purpose and content.
To support all users, web page authors must provide alternative text that describes what an image depicts, but also what the image means within the context of the overall page. For example, a dove might represent peace, or it might just illustrate a bird.
Because a screen reader pauses to announce the alternative text, it’s important to keep descriptions brief.
- Use plain language in your descriptions. Avoid terminology and replace long words with shorter synonyms.
- Don’t include “image of” or “picture of” or other descriptors. Screen readers will say “image” or “graphic” making these descriptors redundant.
- Text within an image must be described in the alt text, especially if that text is central to understanding the content of the image.
- Include punctuation. Periods and commas allows a screen reader to read in a more natural-sounding way, providing appropriate pauses to separate ideas, paragraphs, or other content.
Example 1
Using the image described above, which of the following is the best alternative text entry:
- This is an image of a group of people standing in a city street cross walk, viewed from above. Their bodies form the shape of a speech bubble.
- Speech bubble.
- A group of people, seen from above, in the shape of a speech bubble.
The first description is too lengthy and include a redundant “image” description.
The second description is too brief and does not adequately describe the context for the image, which can help communicate meaning.
The last description is brief, informs the audience about the elements and setting for the image, and uses simple words with punctuation.